Adding a NSFW filter to Images on Writefreely
Some of you may not know (or do know) I have a lot of original worlds that I have created as a writer and one of the worlds has nudity in the art. This made it Not Safe For Work and have always worried that someone would click on the blog, get hit in the face by the nudity and get in trouble. I also did not want to leave writefreely so I decided to see if I could hack it so I could add my own NSFW filter so that if someone landed on the page, they would be good and have a chance to surf away.
I succeeded. Here is what I did and the code that I wrote. (Be warned, the Javascript is probably pretty ugly. I'm not used to writing in it so it's pretty hacked together.
NOTE: This only works if you are self hosting. I have not played with write.as since I don't have a subscription there.
Step 1 – Get the Template Files
You'll want to access your server, go to your writefreely directory and then into templates. Download the following files:
- chorus-collection.tmpl
- chorus-collection-post.tmpl
- collection.tmpl
- collection-post.tmpl
Step 2 – Add the code
Please note that you'll want to do these steps with each template file that you had downloaded.
Add the following CSS code right before the </head> tag in the template.
<style>
	.nsfw-wrapper {
		position: relative;
		display: inline-block;
	}

	.nsfw-wrapper img.nsfw {
		filter: blur(20px);
		transition: filter 0.3s ease;
		cursor: pointer;
	}

	.nsfw-wrapper.revealed img.nsfw {
		filter: blur(0);
	}

	.nsfw-overlay {
		position: absolute;
		inset: 0;
		background: rgba(0, 0, 0, 0.45);
		color: white;
		font-size: 1.1rem;
		font-weight: bold;
		display: flex;
		justify-content: center;
		align-items: center;
		pointer-events: none;
		border-radius: 4px;
		transition: opacity 0.2s ease;
	}

	.nsfw-wrapper.revealed .nsfw-overlay {
		opacity: 0;
	}
</style>
After that, scroll down to the </body> tag and add the following javascript code.
<script>
document.addEventListener("DOMContentLoaded", () => {
	const nsfwImages = document.querySelectorAll("img.nsfw");

	nsfwImages.forEach(img => {
		// Create wrapper
		const wrapper = document.createElement("div");
		wrapper.classList.add("nsfw-wrapper");

		img.parentNode.insertBefore(wrapper, img);
		wrapper.appendChild(img);

		// Create overlay
		const overlay = document.createElement("div");
		overlay.classList.add("nsfw-overlay");
		overlay.textContent = "NSFW — Click to Reveal";
		wrapper.appendChild(overlay);

		wrapper.addEventListener("click", () => {
			wrapper.classList.toggle("revealed");
		});
	});
});
</script>
AGAIN! You'll need to do that with all four files that you downloaded above.
Step 2 – Add Fediverse tag (OPTIONAL)
While in there, you can also add the meta tag you can use so that mastodon can recognize your blog when seen by a mastodon client. Until the next patch from Writefreely comes out.
<meta name="fediverse:creator" content="@USER@FEDIVERSE.SERVER">
Step 3 – Add the class to your image!
Okay. This is the part was a bit finicky. I attempted to use the method of attaching the class to a markdown link but it never worked for me. I had to use the whole html code to get it to work but you'll add the class nsfw to your link.
<img src="path/to/image" alt="image_alt" class="nsfw"/>
Step 4 – Restart your Writefreely instance
This is a must because when the program launches, it caches the template files. You won't see the changes if you don't restart it. If you're on ubuntu, you're command should look something like this:
sudo systemctl restart writefreely
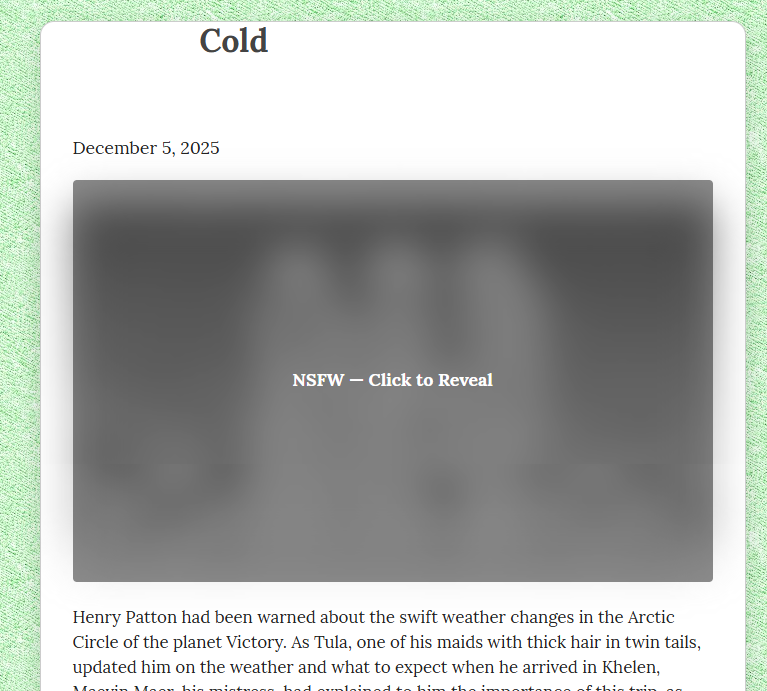
After that you should be good! It should look something like this!
Ending
There you have it. There might have been an easier way to do that but with two days of experimenting, this was the best I could do. Of course, make sure to back up those *.tmpl files because with each patch from writefreely, there is a good chance they could be overridden and put you back to square one.
Hit me up on mastodon if you have any questions!